 Download
 Order
OrderHow to Organize Old Family Photos
If you have lots of photo albums with your family pictures, you might be in search of an efficient way to sort them. But looking at those piles of pictures, you might be reluctant to even get started and feel the urge to leave them all untouched. So, how to organize 30 years of photos easily yet carefully?
By following the tips below, you can easily transform that daunting stack of memories into a beautifully arranged collection. You’ll discover some of the best ways to organize old family photos, both physical prints and digital copies of the images. Whether you’re looking for ideas just to get started or need a whole action plan to preserve meaningful family photos, you’ll find the needed information here. Now, let’s get down to the details.
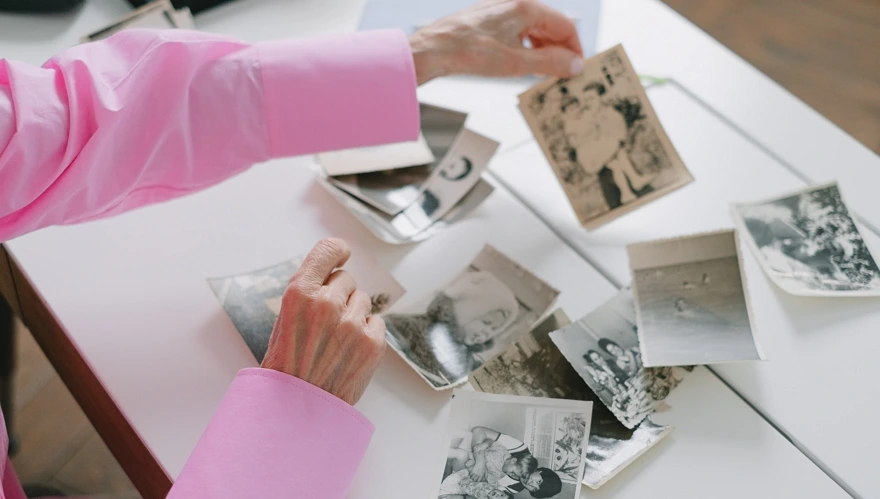
How to Organize Old Photos: Physical Prints
Have a collection of old pictures, but not sure about where to start with organizing family photos? The tips below will help you rearrange and preserve printed pictures.
Set a Goal and Make a To-Do List
If you’re dealing with a big number of pictures, organizing old family photos might take some time, so you won’t get it done in one sitting. It’s better to set a certain goal first. For instance, you might need to find a better way to keep the printed pictures safe from potential damage, reorganize loose photos to place them in several photo albums, or simply rearrange them in a more clear way to pass the family heritage down to the next generations.
Then you can develop a plan to achieve the desired goal. Once you have a to-do list on your hands, you can delegate some of the tasks to other family members who want to be involved in this activity.
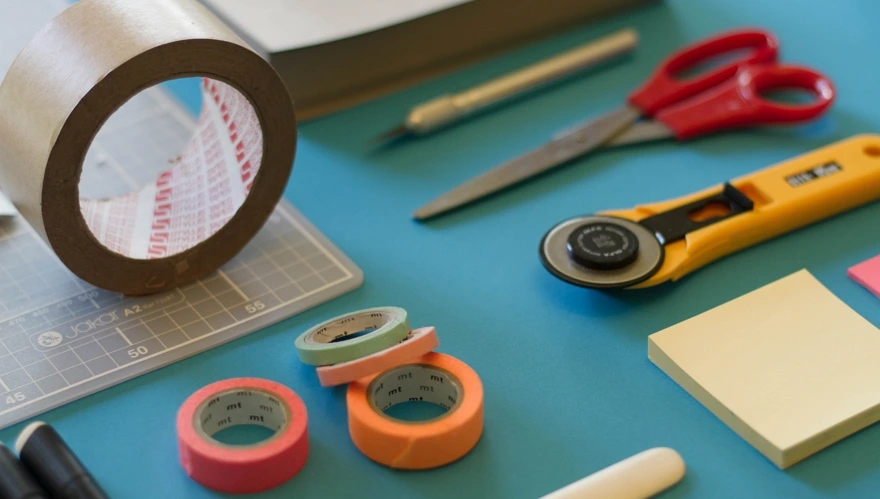
Gather the Photos and Tools
Now you can gather your photos in one place - bring all your physical prints from albums and shoeboxes. Before you get down to work, it’s essential to also bring all the necessary tools that you’re going to use. It’s better to have them readily available so that you don’t get distracted while working. Here are some of the tools you might need: cotton gloves, pencils, index cards, and boxes.
Scan the Pictures
Modern technologies let you preserve old pictures in more effective ways, such as scanning photos to create digital copies of physical photos. This way, you could easily sort out the images on your computer with no need to examine piles of delicate pictures - you only need to swipe on your tablet or laptop to look through them. To create a complete archive, don't overlook your old film strips. Knowing how to turn negatives into photos is another crucial step in the digitization process.
Restore Damaged Photos
When you start to organize family photos, you might find out that most of the pictures have defects, their colors have faded over the years, and some of them might even be torn. But don’t throw away the damaged photos just yet. Instead, fix them using a special photo editor for old pictures. Check out this step-by-step guide on how to restore old photos to find the best ways to edit such images.
Set Up a System
It will be much easier to organize old photos if you use a particular system. For example, you can group the pictures according to the side of the family, decades, educational periods, events, and so on. At this point, you should also set aside a couple of images that you’d like to hang on your walls, put in frames, or even offer someone as a gift.
Store Photos Wisely
From boxes and boxes of family photos, you might pick just a couple of pictures that you’d like to display. But the rest of the images need to be placed somewhere safe to prevent any damage that can be caused by moisture, sunlight, temperature changes, etc. There are many organizers, boxes, and folders designed specifically for old photos, so you can try them as well. For more tips, read this article about how to store old photographs.
Display the Pictures
If there are photos especially meaningful to you or you simply find them eye-pleasing, then you might want to keep them to display. Old family photos are commonly used to decorate home interiors. However, pictures might fade and get damaged this way. So, for displaying a picture, it’s better to use its copy - scan the photo, remove defects, improve its quality with special software, and then print out the photo in the desired size. Voila, your picture is ready to be framed.
So, these are some tips for organizing photos in printed format. As you can see, it’s not that difficult if you group them according to a particular system and use technologies to prevent damage and fix the defects the images have.
How to Organize Old Photos Digitally
If you’ve scanned your pictures and would like to organize old family photos on your computer, then you might find the following tips useful.
Upload the Files to Your PC
For effective organizing, it’s better to gather all the necessary files in one folder. Include the scanned copies, family photos downloaded from the Internet, and other files. Now that you have everything readily accessible, quickly look through the pictures and delete duplicates and other bad shots that you don’t need anymore.

 Word of Advice
Categorize the Files
Sorting old pictures goes easier if you choose a few principles to categorize the files in your collection. They depend on your goals, the number of photos, and what they convey. These are some aspects you can consider for organizing your old family photos:
— Group photos of each family member
— Organize images by locations
— Sort pictures by events
— Organize files by date
Create Subfolders
Once you define categories to group your photos into, you need to create folders and subfolders for easy browsing. After you organize photographs into subfolders, it’s also important to name the files correctly so that you can find them quicker and easier when you need them. There are special tools for renaming multiple files at once. You can make use of them in case the number of photos is too big.
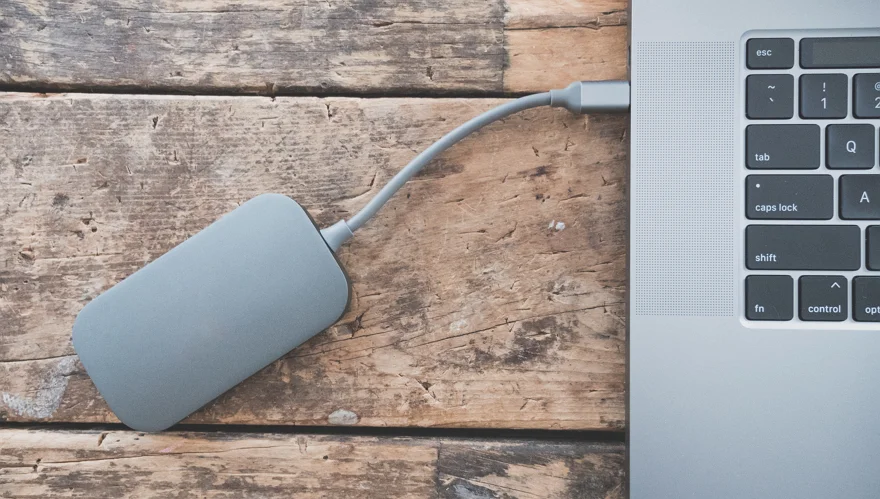
Back Up Files
When organizing your old photos digitally, you also need to make sure you have a reliable backup system in place. We recommend backing up your entire photo collection to an external hard drive, cloud storage, or both. This will protect your files from accidental loss and damage.
And this is how to organize digital family photos! In short, it’s recommended to delete all the duplicates, group the pictures, and back up the images in a safe way.
How to Organize Family Photos: Final Thoughts
Now you know more about creating a well-planned collection of pictures. We have shown you how to organize a lifetime of photos in a bunch of effective ways, including ideas to deal with both physical and digital copies of your family photos.
Despite the time and effort you spend to organize old pictures, once you’re done, you’ll feel relief and peace as you’ve saved memories of many generations from fading away. All you’ll need to do then is enjoy the final result of your hard work.
 Free Download