 Download
 Order
OrderHow to Color Correct Old Photos Without Photoshop
Were you looking through your old photos and noticed that their colors faded away? Blacks turned into washed gray, whites got tinted with yellow, blue skies got bleached. How to color correct old faded photos? Is it possible without using a complicated image editor like Photoshop?
The answer is - yes! Just start PhotoGlory, a user-friendly program for restoring old photos. It offers you 3 different yet simple ways for correcting faded colors. There is an automatic method performed in a click, a manual way that uses a convenient brush, and fine adjustment which involves the retouchers’ secret weapon.
Still sounds like a puzzle to you? Don’t know what method you should pick? Relax, have a tea and read on to discover a step-by-step guide for each of them.
Let’s start with an example of old photo color correction done with PhotoGlory:
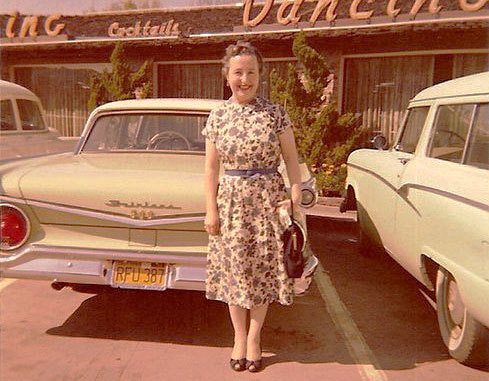
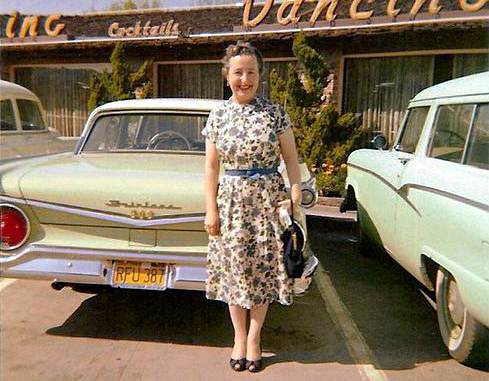
Your withering images deserve looking that beautiful too! To color correct them, simply download the program, install it, and explore the methods below.
 Download Now!
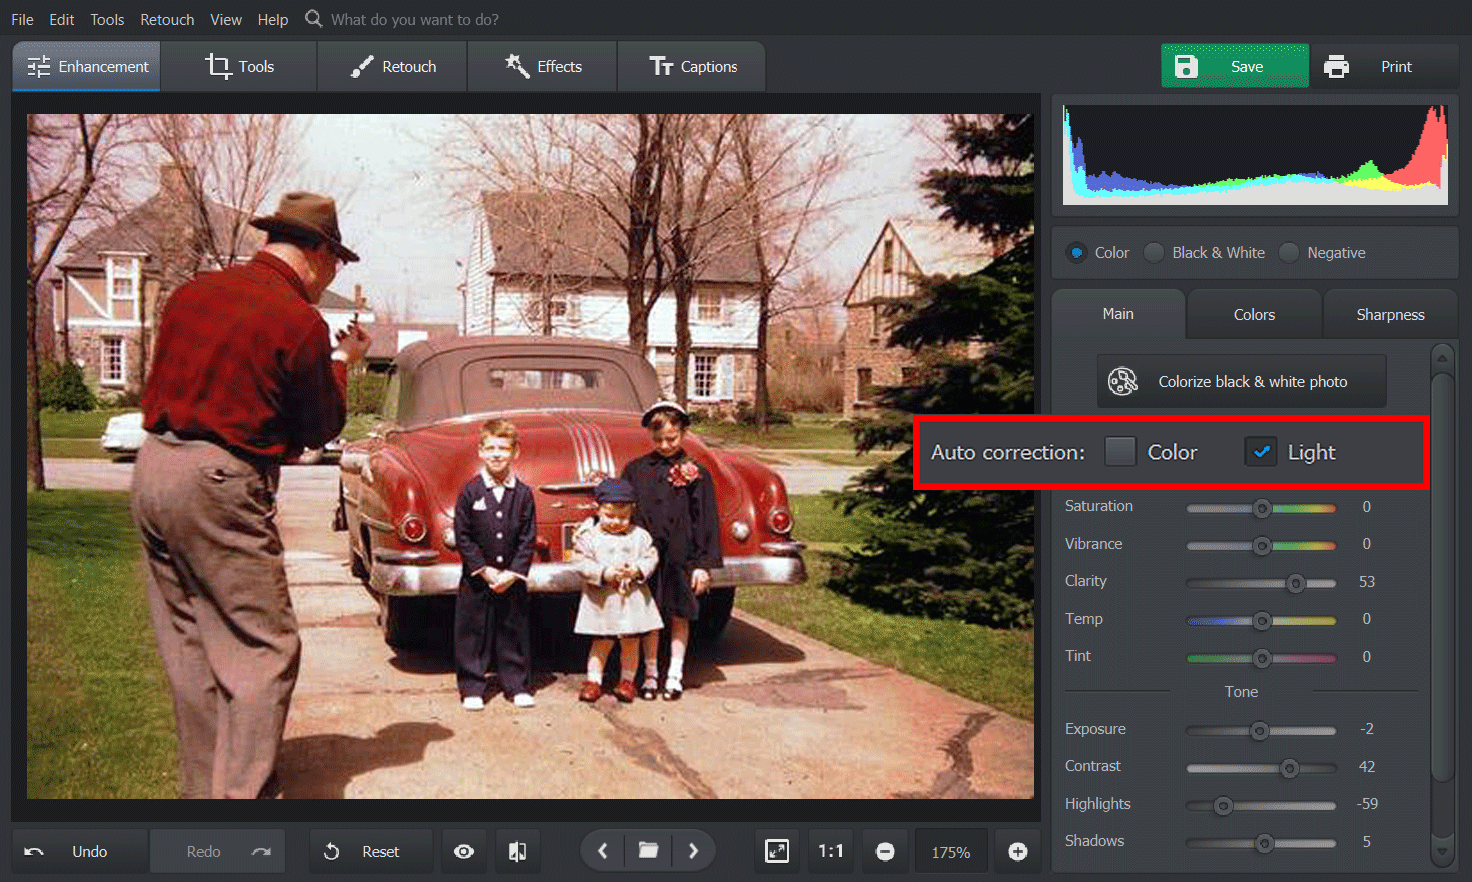
Way 1. Perform Pro-Level Color Correction in a Click
Not tech savvy? Don’t know much about photo editing? Not a problem! With PhotoGlory, you just need to make one click in order to achieve a perfect result. Start with opening your photo. Then go to the Enhancement tab and check the Color box. PhotoGlory will analyze every object in your old photo and restore its colors automatically.
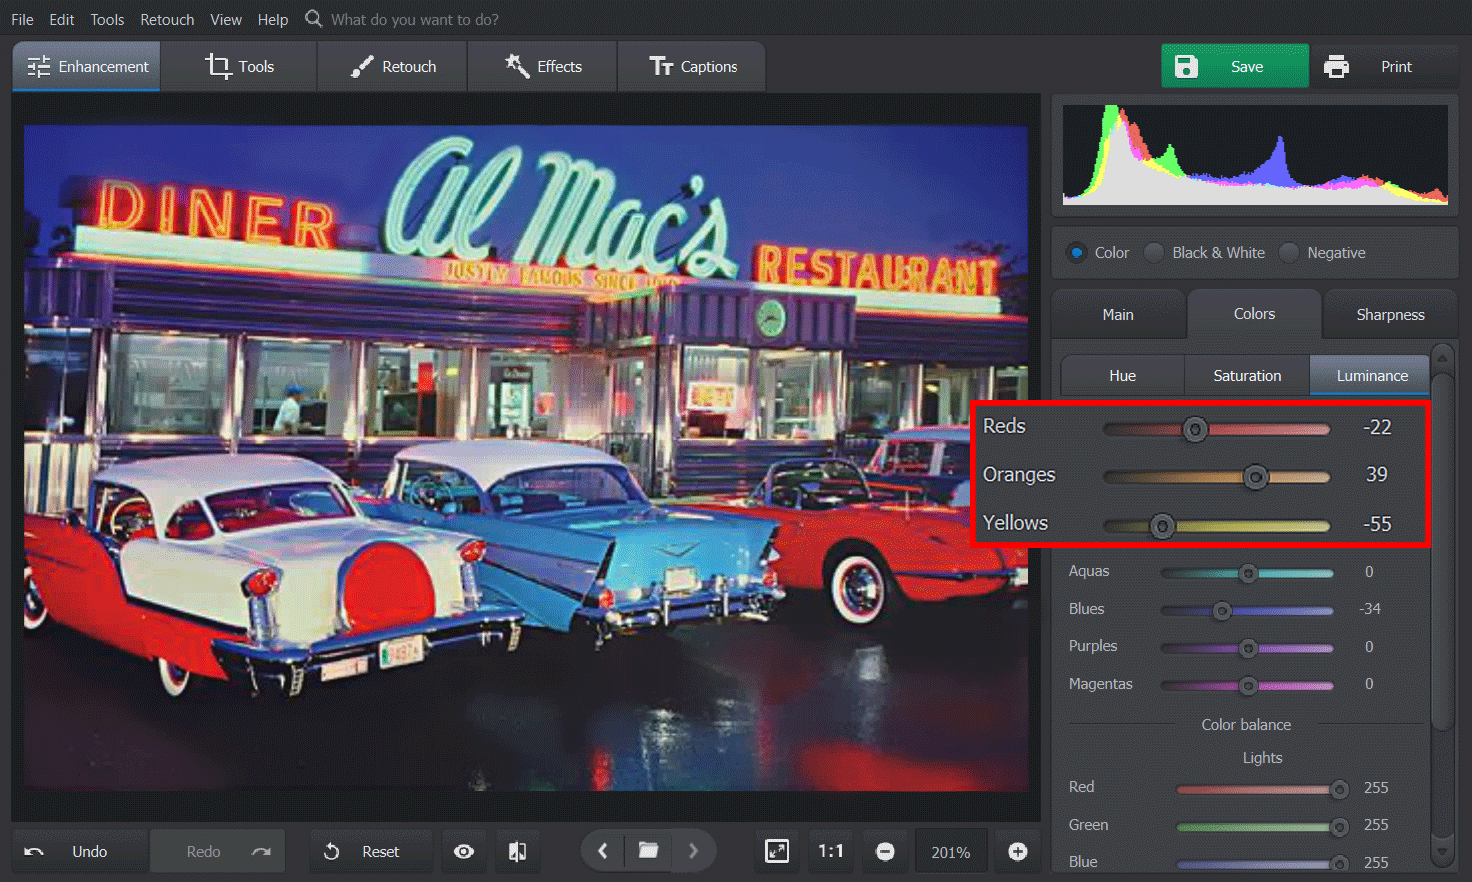
Way 2. Correct the Color in Old Photos Manually
Prefer to have total control over editing? Then this way is for you. Adjust settings for each color separately simply by dragging a slider. Open the Enhancement tab, then proceed to Color. Use the Hue sliders to change the colors completely. Increase Saturation and Luminance to make certain tones pop out. Let the greens shine like emeralds under the sun, cover skies with a deep blue, turn yellowish dawn into crimson dusk - now you can do all of that in your old faded photo with ease!
Way 3. Adjust Colors Like a Pro Using Curves
How to restore faded color photos like a pro? Work with Curves. This tool is based on the RGB color model, where the primary colors - Red, Green and Blue - mix together and turn into thousands of hues and shades familiar to all of us. The Curves tool is usually presented as a grid with several sectors and a line in the middle. The top sector stands for the lightest tones, while the sectors at the bottom - for the darkest. The areas between them represent the middle tones.
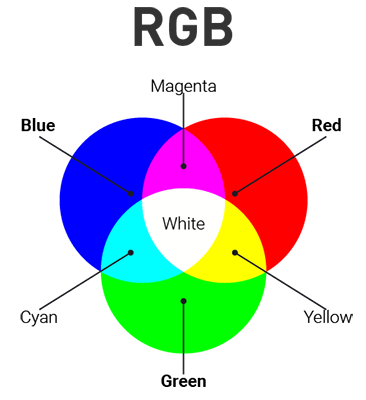
According to the RGB model, each color has a pair, so when you drag the line across the grid, you decrease one tone and increase the amount of the other.
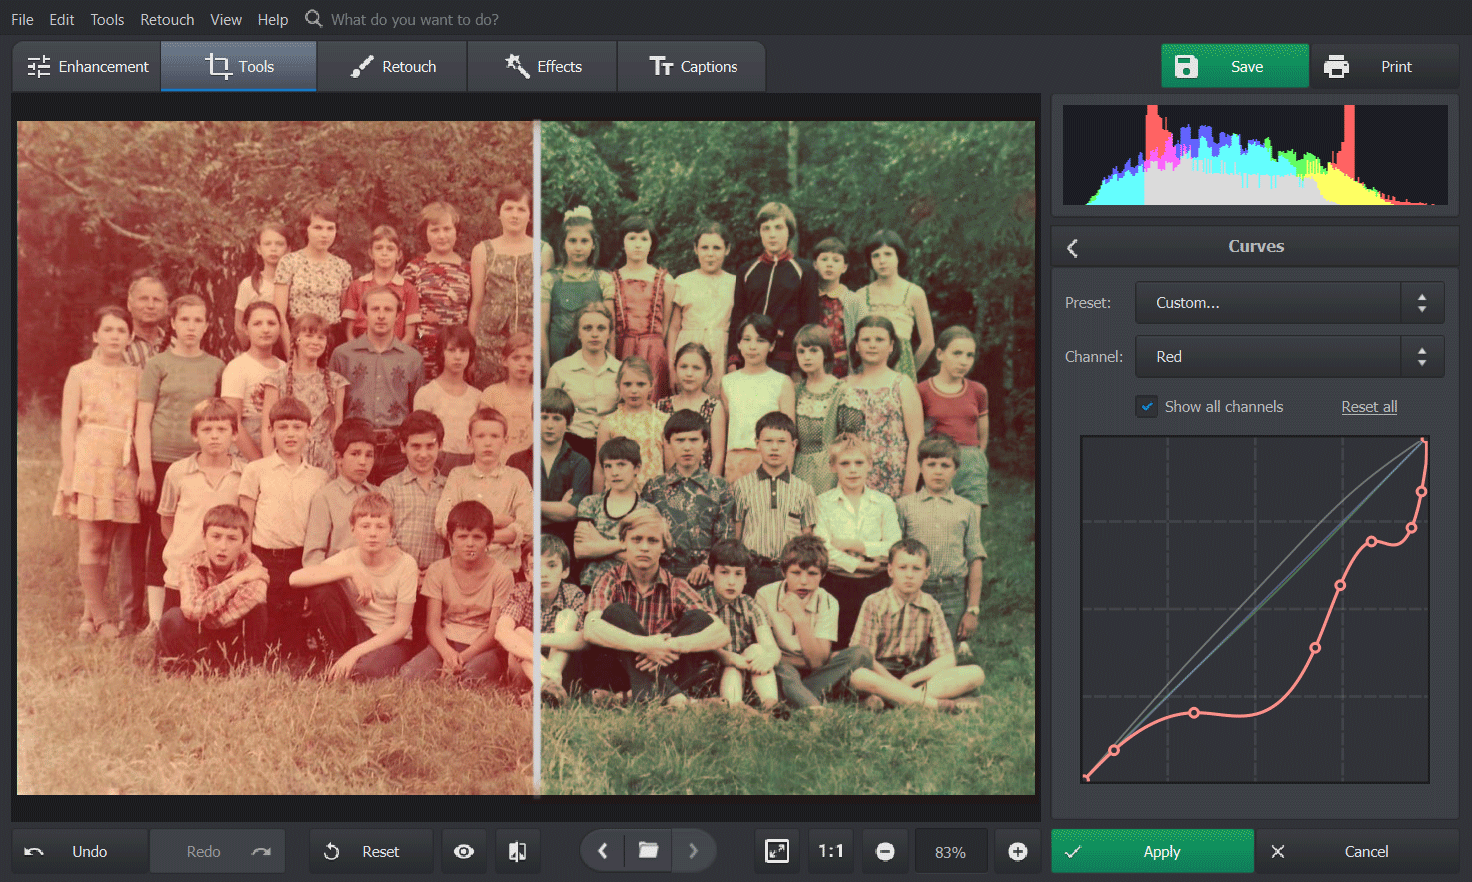
For example, here we have an old faded photo with lots of red color in it. Let’s fix it. Go to Curves, switch to the Red channel and move the line down to get rid of the extra red color. In order to have total control over the tones, you can set up points on the curve. Each point will represent a certain tone, and it won’t be changed while you continue editing.
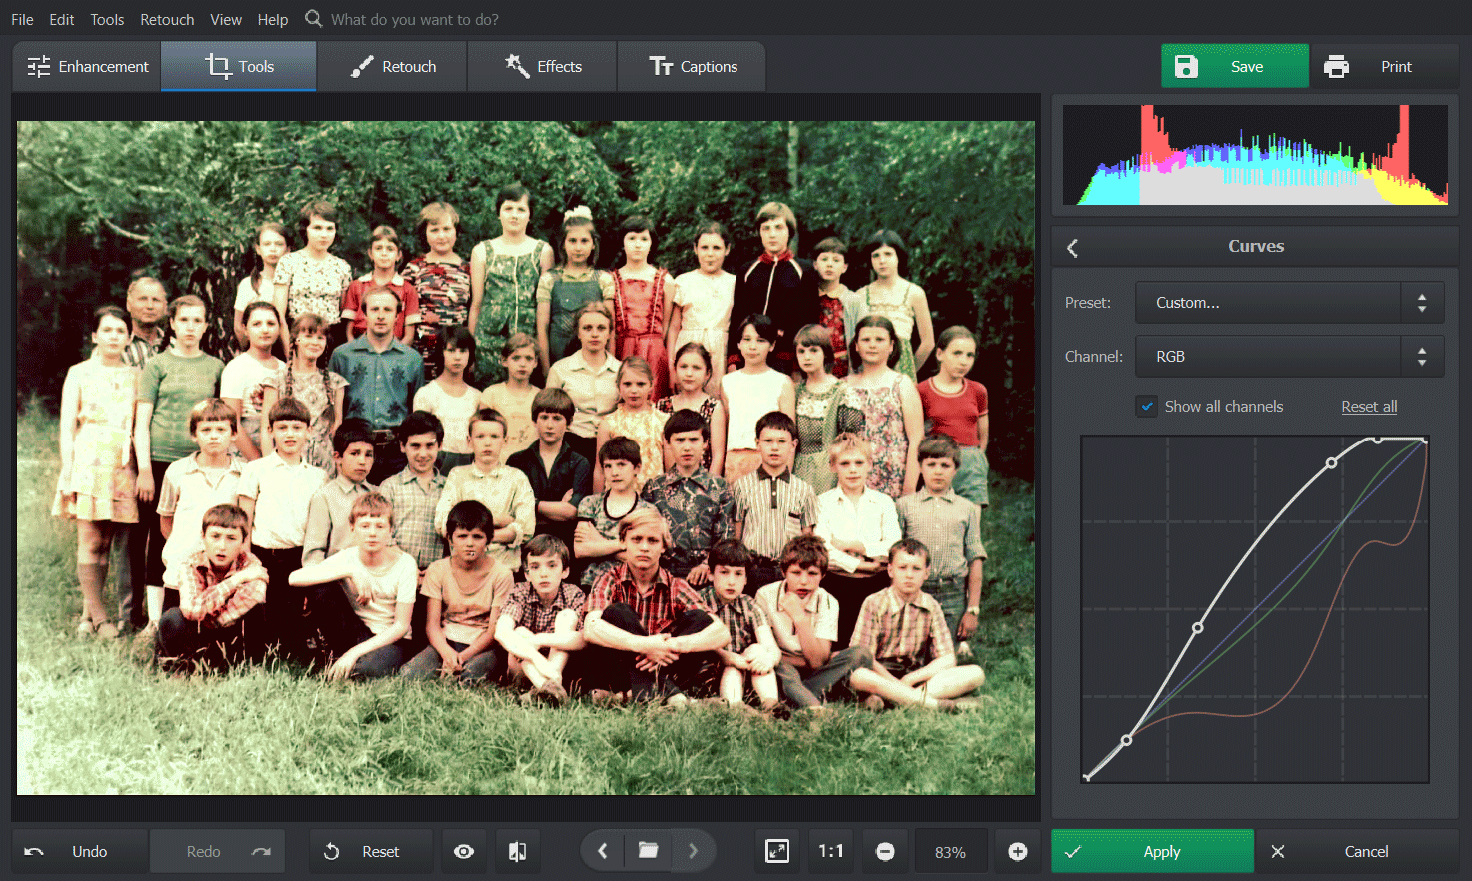
After fine-tuning the Red channel, the picture has gained too much green. Let’s switch to the Green channel and move the line a bit closer to the middle. Now the picture has a perfect color balance:
 Another Way You Can Check Out
What Else Can You Do to Improve the Quality of an Old Photo?
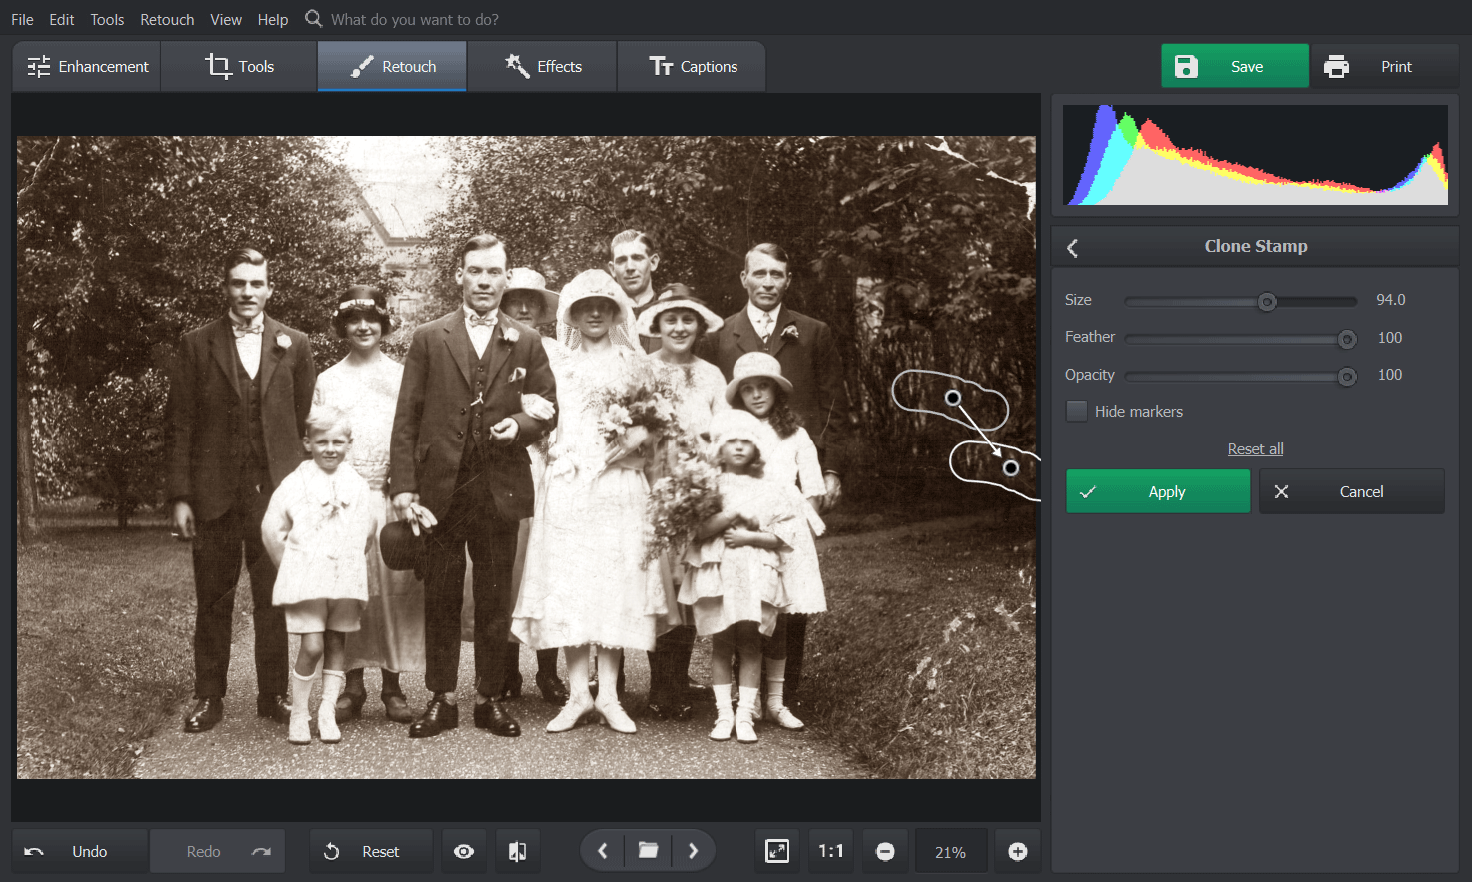
Apart from faded colors, fixing old photos means dealing with other problems. The most common issues are scratches, fingerprints, spots and tears. How to restore faded photos that are damaged? PhotoGlory lets you do it in a flash. Want to remove a tear? Use a brush to paint over damaged areas and the software will fill them automatically. Need to conceal a spot or leak? Make a selection around the object and select an area for replacement. Restoring old photos with PhotoGlory is as easy as ABC!
Finally, you can polish the result by adding some style. Play around with over 130 photo effects: choose from Vintage, Quick Enhancements, Movies, and more. Just select a preset you like, and it will be applied automatically. Before we forget: you also can colorize black and white photos! The program will choose the colors on its own, though manual colorization is also possible. After you've enhanced your images, the next step is preserving that legacy, so be sure to learn how to organize old family photos.
That’s it! We've suggested 3 different ways to color correct old photos without using Photoshop. Choose the one that works best for you, depending on your photo editing knowledge and free time. No matter which path you choose, you’ll nail the task with PhotoGlory!