 Download
 Order
OrderHow to Digitize Photos with No Effort
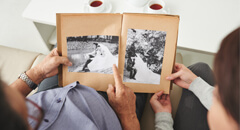 Keeping your family archive in a physical form might not be the best idea. After all, the paper the pictures are printed on is fragile and prone to get torn and stained. If you want to keep the memories of the days gone by for as long as possible, it makes sense to learn how to digitize old photos.
If these words sound a bit confusing, don’t worry. We will try to make it easier for you. In this article, we will go over the best ways of rendering your old photos digital. We’ll tackle 5 methods, all of them easily doable. You won’t need much time or pro equipment. So begin the process of preserving your photos digitally and learn ways of transferring your photos from print.
Digitizing Old Photos: the Reasons Behind It
If you are still not quite sure if it is worth the hassle to digitize your family archive, we have a few pro arguments. Here are the reasons you should really consider making your photos digital:
- Hard copies of photos are fragile. We’ll start with the most obvious reason. Physical photos don't have the capacity to last forever. They get damaged, stained, soaked, and who knows what else. Most of the time people aren’t even to blame. You might be handling your family archive with utmost care, but the paper will crumble anyway.
- Photo archives eat up much space. How many photos do you have? If your family has been keeping the archive for generations, chances are there are thousands of images. If you don’t want to have all these precious but fragile pictures kept in equally fragile boxes, digitize your photo albums stat.
- Digitized photos are easier to fix. Here’s another reason to transfer your physical photographs to digital - the latter are much easier to repair. Dealing with hard copies of old and damaged photos is a challenge, since you might damage them even further. But when it comes to digitized photos - it’s a breeze to crop out torn corners, heal cracks and stains and boost dull colors. Provided that you know how to enhance old photos, that is.
- Digitized pictures let you get creative. Here is a less obvious reason why you should consider converting print photos to digital, but it is just as valid. Having all your old photos digitized opens endless opportunities to get creative with them - after all, you won’t be dealing with the only remaining copies. You can try digital scrapbooking, collage or slideshow making or any other creative output with a vintage flair.
- It’s easier to organize soft copies. If your photo archive is vast, then it must be a nightmare to keep it organized. Tons of images lying in dusty boxes, no labels, no other indicators - you get the idea. If you transfer your photos to digital, you’ll get a much more manageable archive. Every picture will be properly named and dated, all the pictures will be put into the right folders and it will be much easier to find one particular shot.
Well, now that you know why rendering your photos digital is worth the trouble, let’s move on to the best way to digitize old photos. Just like we said before, you won’t need that much investment or effort to make it happen.
How to Digitize Old Photos in 5 Easy Ways
So why a whole 5 ways of digitizing photos instead of just one that is fool-proof? Well, your choice of the way will still depend on several factors, namely your budget, the free time you have, and your further intention with the images. So take all these into consideration when choosing the method. Now, without further ado, let’s learn how to digitize your images.
1. Convert Old Photos to Digital Copies with a Camera Phone
Let’s start with arguably the easiest ways of digitizing photos there could be. What’s more, it’s completely free. Just like most people nowadays, you probably have a smartphone with a decent camera. This is all you need really. Just take your camera phone and your family archive and snap all the pictures anew.
In order to get the best result possible, make sure that the old image is well lit. Avoid stark light from above as it will give your old photo a nasty glare. It’s better to have two muted light sources coming from the sides. It might also make sense to switch to a macro mode to get all the small details.
Once you are ready, activate your smartphone camera, focus on the image and snap the picture. In case your working surface made its way into the frame, you can easily crop every excessive detail out right with the built-in photo editor. Finally, save your pictures to your phone and make sure to transfer them to cloud storage as well.

2. Digitize Photos Using a Specialized Application
Here’s another answer to a question “how to digitize photos at home?” This time you’ll need more than just your smartphone. A specialized application will also come in handy. For instance, PhotoScan can be your weapon of choice. But how is this way to convert photos to digital so different from the previous one?
Well, thanks to the application, you won’t be simply snapping a new picture of your old image. PhotoScan turns your camera phone into a bonafide scanner. The application is capable of detecting edges of the image - and cropping it accordingly. What’s more, the app ensures that you end up with a glare-free shot with automatically enhanced colors.
PhotoScan is available for both iPhone and Android devices, so the make of your phone doesn’t matter. All that matters is that you can easily turn physical photos into digital almost like a pro.
 Word of Advice
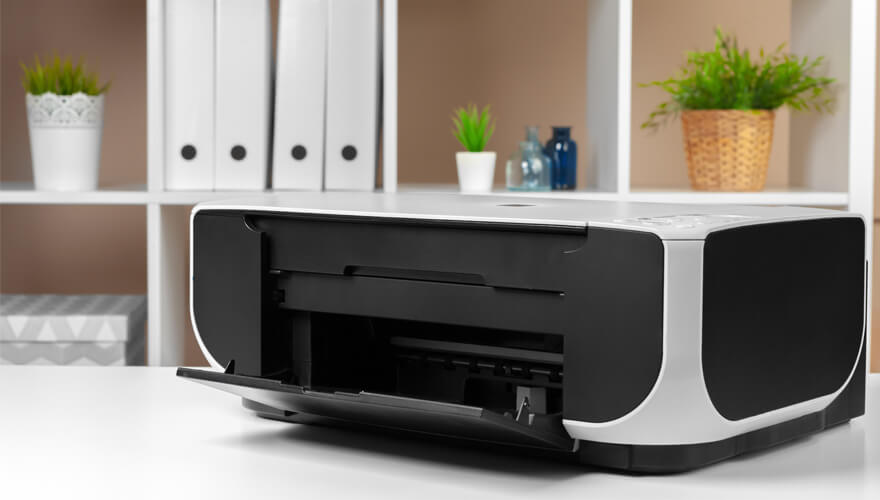
3. Digitize Family Photos with a Scanner
Here is another way to convert photos to digital at home, although it requires you to have an additional piece of equipment, namely a scanner. With a scanner, you can be sure that no details of your old images will be lost. Besides, using a scanner ensures that there will be no dust, glare or any other artifacts on the scanned images.
High speed is another advantage of this method. All you need to make digital copies of photos is to press a single button - no need to fiddle with camera settings on your phone. Just make sure to save your scanner file as a TIFF. These files will be larger, but this format will provide you with the best possible quality.
To ensure you get the best results possible, it's worth researching the best old photo scanners that fit your budget and needs.
4. Digitize Pictures with the Help of Pro Services
If the cost to digitize photos is no issue for you, then consider recruiting outside help for your cause. There are services that specialize in dealing with people’s pictures, whether it is photo, slide, or negative scanning. Some of these services include ScanMyPhotos or ScanCafe.
Granted, this way of transferring your picture to digital is a bit costly, but there are some undisputable advantages. First of all, you won’t have to scan all your images, which means that you won’t have to spend any time on it yourself. Besides, you can rest assured that all the images will be of perfect quality. It’s definitely worth a few extra dollars spent.
Word of Advice5. Digitize Old Photos in a Local Photo Shop
If you are sure that scanning images yourself isn’t your jam, but the prices at specialized services are a bit too high for your taste, then consider going someplace more budget-friendly.
Your options include a local photo studio or even the likes of Walmart and Walgreens - these spots always have a decent photo studio on the premises. There is a slight chance that the scanned images might be of lesser quality, but at least you won’t have to scan your whole family archive all by yourself.
What Comes Next After You Digitized Your Photos?
So there, you have your old images digitized, now what? Before you can go on doing what you planned to do, you need to make sure that all your old photos look fine in the digital form. This means no rips, no stains, blobs, or creases. You wouldn’t want to drag these defects to the digital archive as well, would you?
The easiest way to get rid of all these flaws is to repair your photos. There is no need to hire a pro. You just need the right program. One of the best in the field is PhotoGlory. This photo restoration software allows you to easily heal cracks and stains and even colorize your black and white images both automatically and manually. Want to take a little glimpse into what PhotoGlory can offer you? Then have a look at this video:

Did you like what you saw? Would you like to try it with your own pictures? Then try PhotoGlory today - after all, this software has a free trial period.
And this is it - now you know how to digitize photos in 5 fairly simple ways. From now on, there is no need for you to keep your family archive in a physical form and risk its integrity. What’s more, once you turn your photos digital, you’ll have a whole new flow of ideas on what to do with them further. But how to choose the perfect digitizing way?
Well, if you are pressed for time and have some spare money, consider recruiting pro services. If you have a scanner at home, then this will be the perfect tool. But if you have very little resources, then using your smartphone to digitize your old photos is the way to go. Just don’t forget to restore any damaged shots afterwards.
 Free Download