Download
 Order
OrderBring History to Life:
How to Colorize Black and White Photos
We all have a bunch of albums with retro photos depicting the precious moments of the past. Most of them are black & white, with scars of time on their surface. How to bring all of these images back to life without paying a huge sum to a local photo studio? Can you color black and white pictures all by yourself, at the first try, if you aren’t a pro at photo editing?
Yes, you can do that with PhotoGlory! This is a smart image editor made specially for dealing with old pictures. You don’t need to do anything but a click and the program will automatically colorize black and white photos, as if by magic. At the same time, you can make manual adjustments with a convenient brush and pre-made palette.
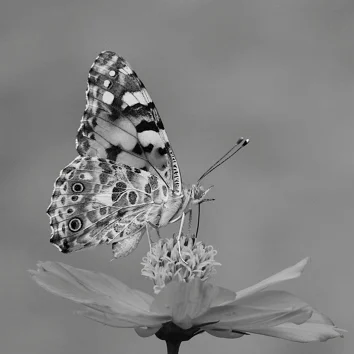
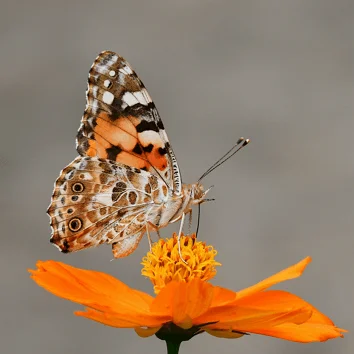
Take a look at this black and white photo carefully brought to life by PhotoGlory:

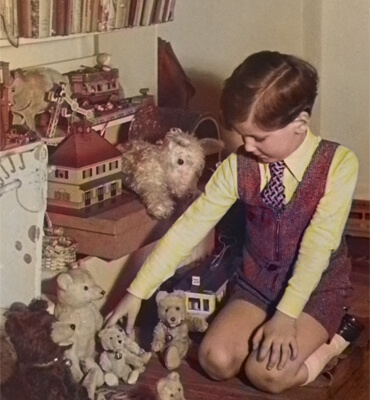
You can get the same result with your own photos, even if you’re not that skilled at image editing! Below, we’ll guide you through the entire process of colorization. We’ll also suggest some alternative programs and techniques you can use to turn black and white photos to color. Let’s jump right into the steps so you can start experimenting and see the transformation for yourself!
How to Color Black and White Photos:
Step-by-Step Guide
With PhotoGlory, auto coloring your retro images is as easy as 1, 2, 3! Just follow these steps:
Step 1. Digitize Your Black and White Picture
To start, you need to make your printed photo digital. You have two options: get your picture scanned, or simply reshoot it with a digital camera. Even your phone will do. But the better the quality of the shot, the easier it will be to colorize it.
Step 2. Open the Digitized Photo with PhotoGlory
Now you’ll need software with a colorization feature such as PhotoGlory. Download this old photo editor for free by clicking the button below.
 Download Now!
Install PhotoGlory to your PC and run it. Now, simply drag your grayscale picture from your folder on your hard drive into the software’s main window.
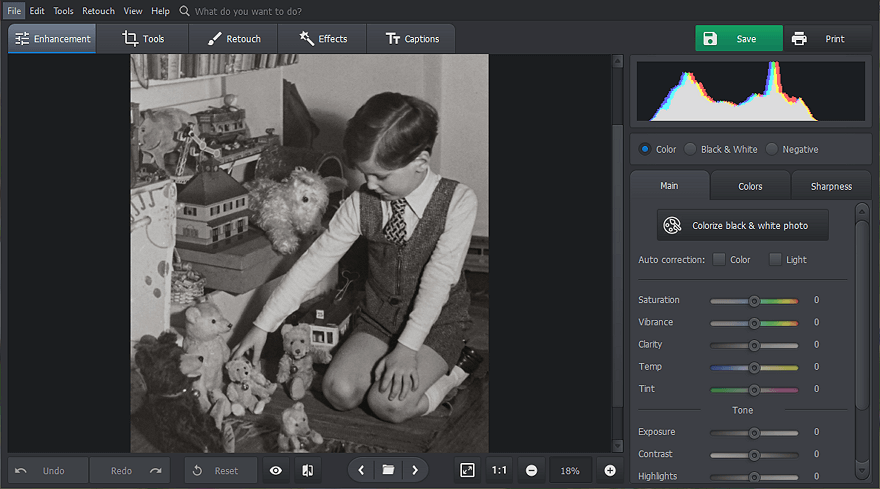
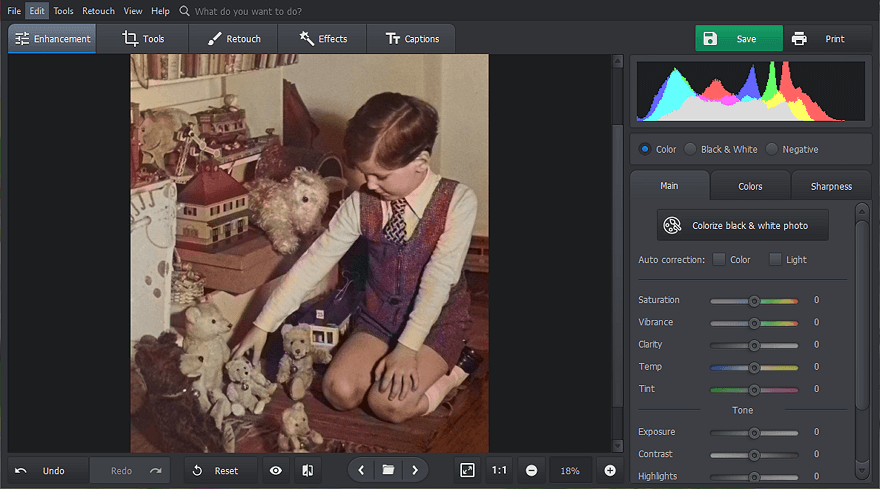
Step 3. Change Your Black and White Photo to Color
Find the "Colorize black & white photo" button on the right-hand side panel and click it. PhotoGlory will analyze the picture, using AI technology to detect different elements like the sky, greenery, buildings, people, and their clothes. Then, it automatically applies the perfect colors for each.
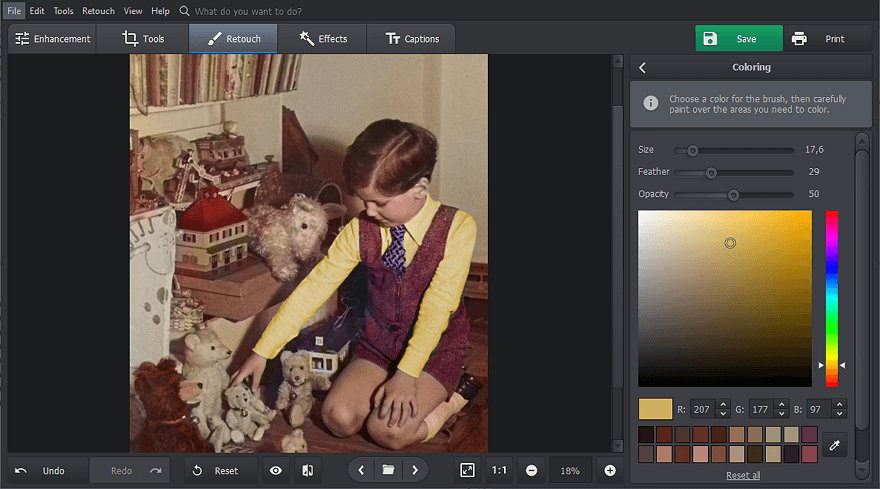
Step 4. Set Color Accents Manually
If certain details in your photo need some fine tuning, you can touch them up manually. For that, go to the Retouch tab and choose the Coloring tool. Now, set the brush size, choose the hue, then paint over the parts of the picture you want to change or improve. To match the existing colors, pick the necessary shade right from the picture using the eyedropper tool.
For a more visual and in-depth walkthrough, check out our video tutorial below to see how to turn black and white photos into color, demonstrated step-by-step.

Now that you’ve seen the process in action, let’s dive deeper into what else PhotoGlory has to offer!


 Word of Advice